This Blogpost (Written by Timothy) details the editing and post production process of our Documentary.
To begin, I chose the timeline-based and non-linear video editing software application that is Adobe Premiere Pro CC 2020 as my primary choice of software for video editing. To begin, most of the files were transferred from the SD card used to my desktop to begin editing.
The files were then imported into Premiere Pro, I then filtered the shots and deleted all the shots from the media library that I thought wouldn't be useful in the overall edit. The editing software made it easier to sync clips as it has the marking feature which allows the user to mark a certain part in the timeline with a label.
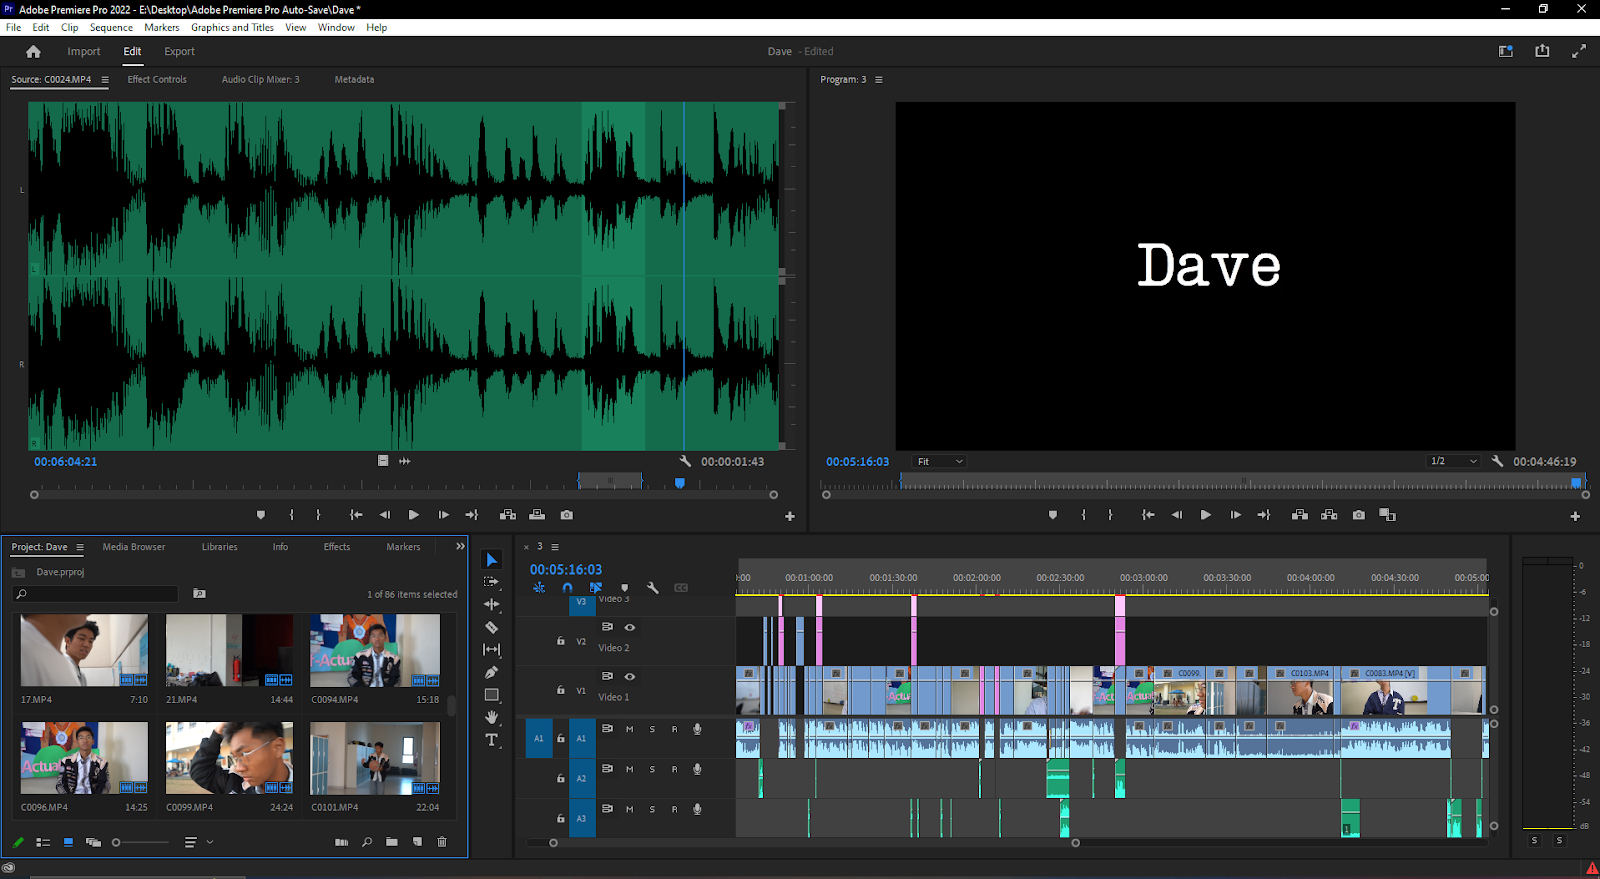
Shown below is the overall timeline of the project.
SIGNIFICANT EDITING CHOICES AND METHODS
Exposure Control (Color Grading)
By adjusting the exposure and the shadows, the originally overexposed video now fits all the other shots used in the edit.

Before
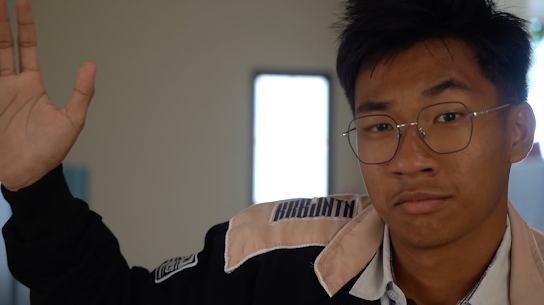
After
Typewriter Animation
By using the linear wipe effect as well as overlaying a white video and playing with the scales, I successfully created a typewriter-like effect to showcase the interview questions.
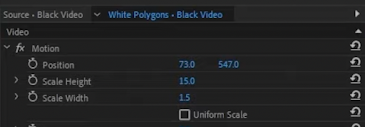
By using keyframes, I was able to adjust the timing of the animation to provide the viewers with enough time to read the text without the segment lasting too long or too short.
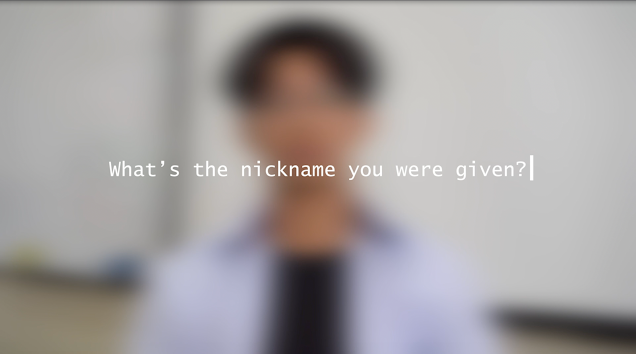
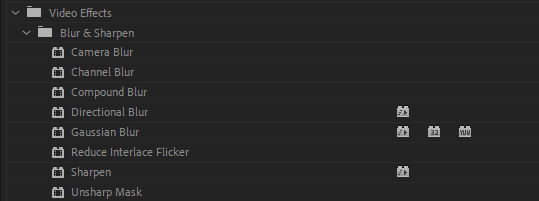
These segments used the camera blur effect, which was done to pull the audience's focus, so that they don't get distracted from the text.
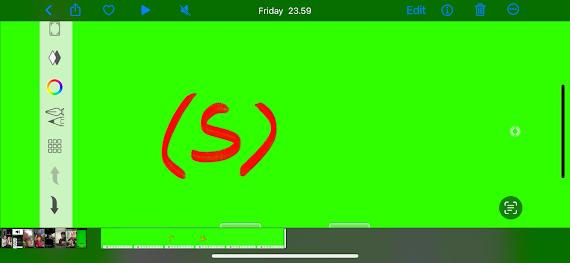
Scribble Animation
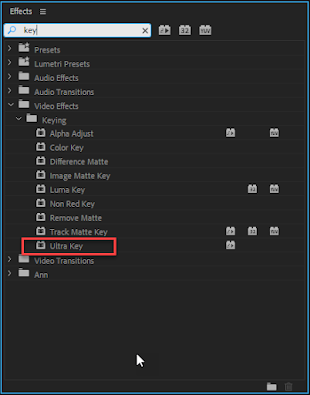
By screen recording drawing the S on a drawing application. I used this footage to chromakey the greenscreen to replicate a scribble animation.
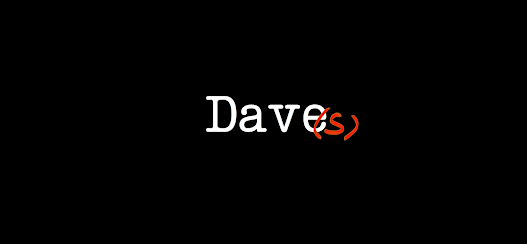
Final Product
No comments:
Post a Comment